PDG ibma
Light-emitting Diode LED Electronic Hourglass DIY Electronic Kit 5V Fun Welding Electronic Component Welding Skills Training
Light-emitting Diode LED Electronic Hourglass DIY Electronic Kit 5V Fun Welding Electronic Component Welding Skills Training
Couldn't load pickup availability
SPECIFICATIONS
Brand Name: LOTHYE
Choice: yes
High-concerned chemical: None
Model Number: Hourglass DIY Electronic Kit
Origin: Mainland China
Product Description
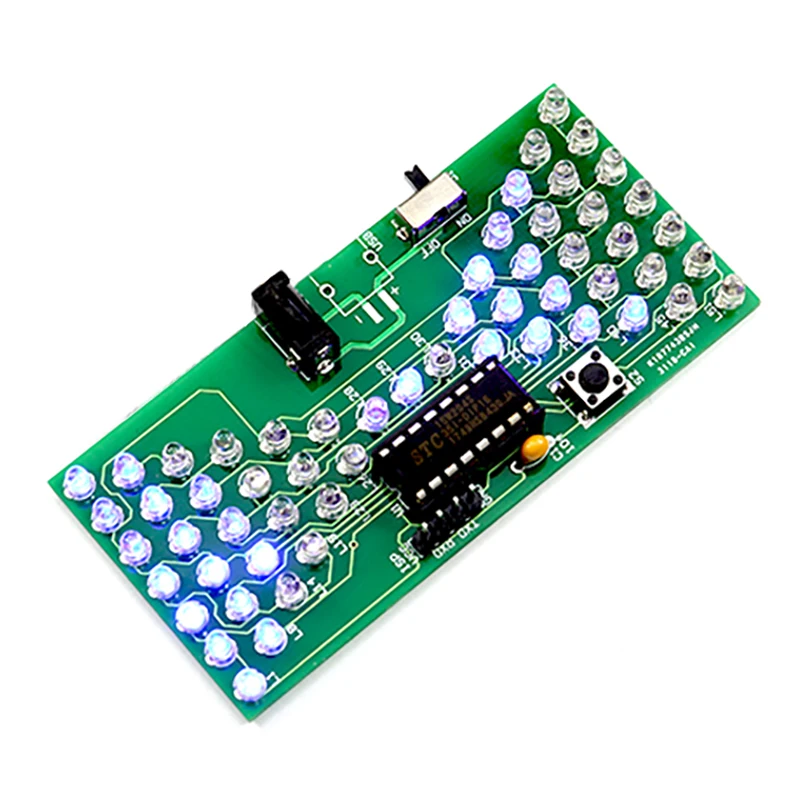
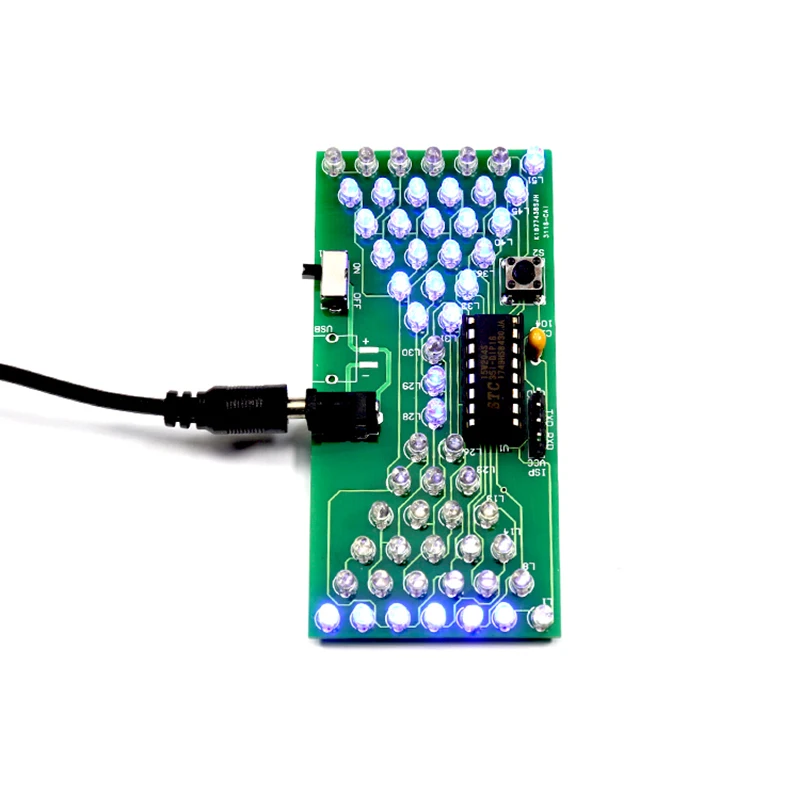
The electronic hourglass uses light-emitting diodes controlled by electronic circuits to represent sand particles and simulate the movement process of the hourglass. The electronic hourglass will be like a real hourglass. The upper sand grains (lit LED) will fall down one by one, and the lower sand grains will pile up one by one. After the leakage, it will start to leak again one by one.
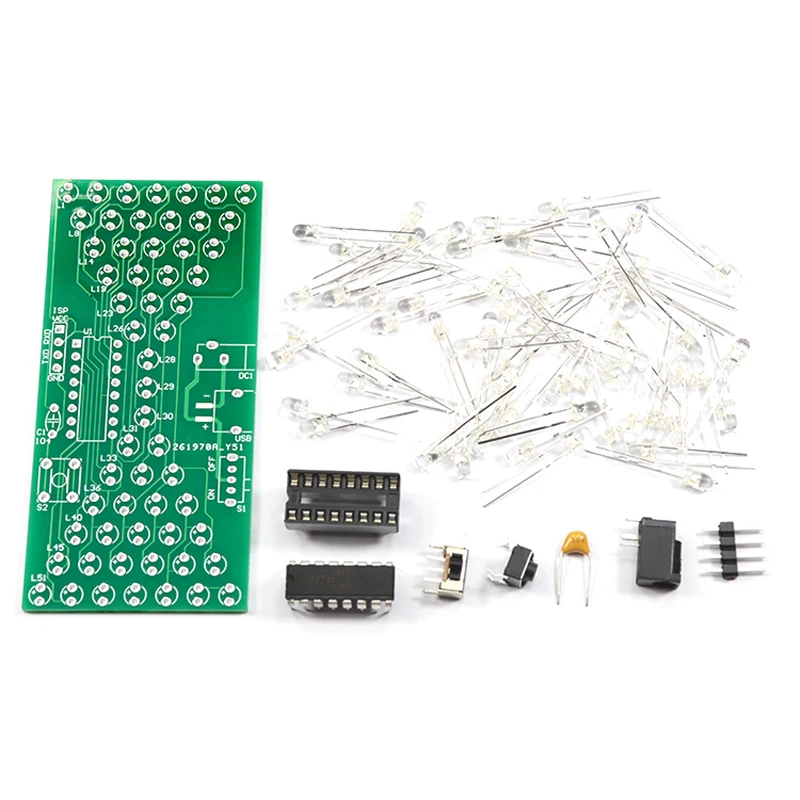
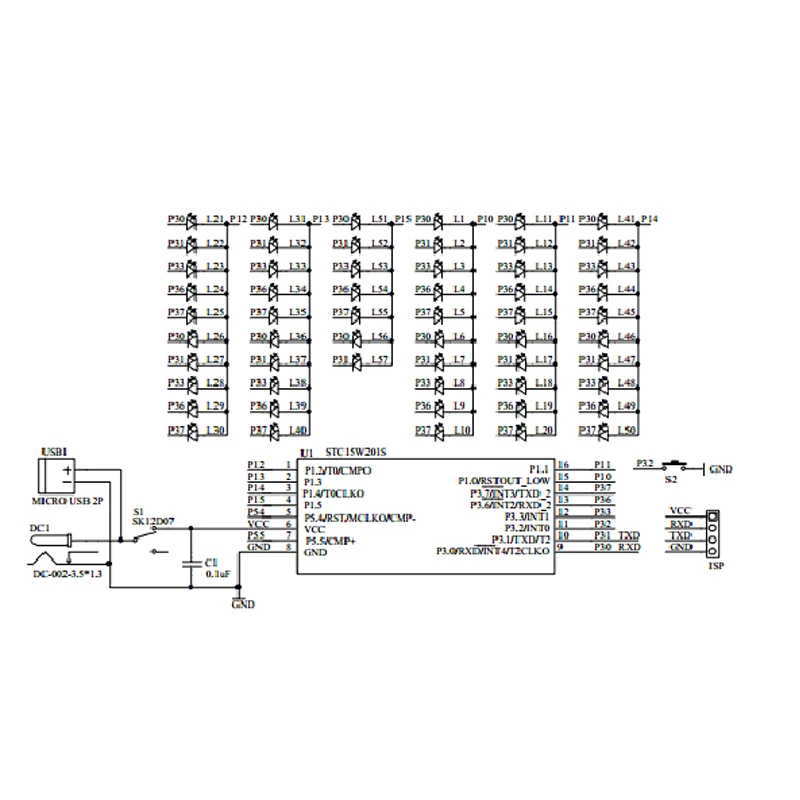
The circuit consists of 57 3mm white and blue LEDs to form an hourglass pattern. Under the control of the microcontroller program, the effect of simulating the hourglass is displayed. In the circuit, S1 is the power switch, USB and DC1 are power supply input sockets, and 3MM DC sockets are configured by default. ISP is the program download interface. The microcontroller uses STC15W202S, and the chip has programs. As long as the components are installed, it can work normally. Touch switch S2 to control the speed of the hourglass.
Production skills
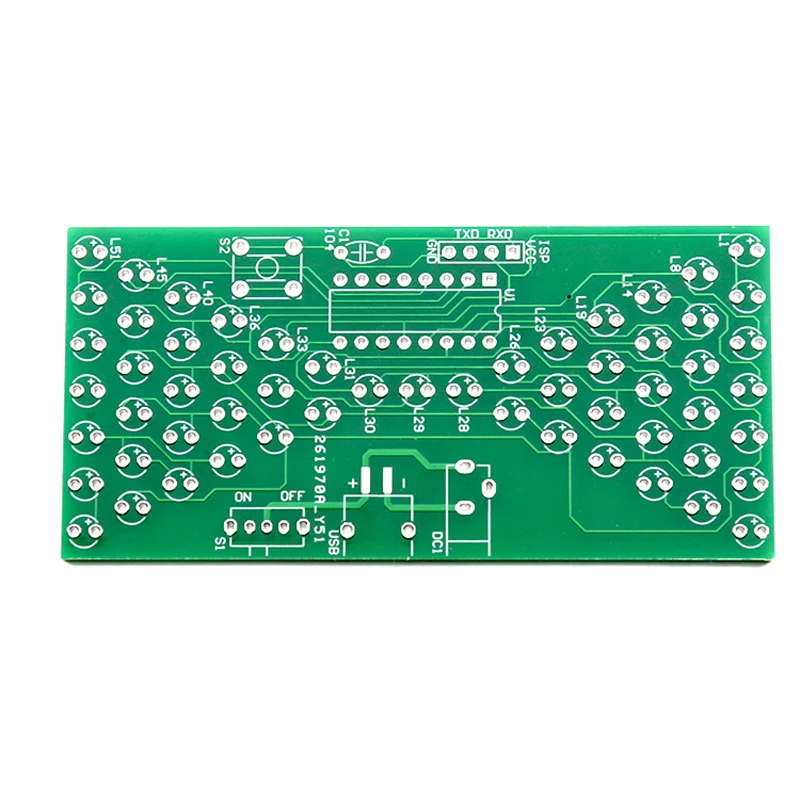
Welding and component installation are the key to success. Please use high-quality soldering tin. The solder joints should be bright without solder skips. Components should not be installed incorrectly. In the process of production, a certain order should be followed. After one component is installed, another part should be installed. Install the low element first, and then install the high element. The notch position of the chip is opposite to the notch mark of the circuit board.
1. LED, long pin is positive pole, corresponding to the position marked on the circuit board,
2. The integrated circuit shall be installed on the tube base first, and then the integrated circuit shall be installed on the tube base. Note that the notch mark of the integrated circuit corresponds to the position with notch mark on the circuit board.
3. After all components are installed, check again for installation errors, and then connect to 5V power supply.
Delivery list: